Ever wanted to see how good a computer vision model can get? Wanna make it fun? We did too. So with Pi Day on the way, we thought it a great opporunity to carve ourselves a slice of the computer vision action with our Pidentifier Application: A serverless mobile-friendly app that can tell you what kind of pie you’re about to stuff in your face on Pi Day!

The Dataset
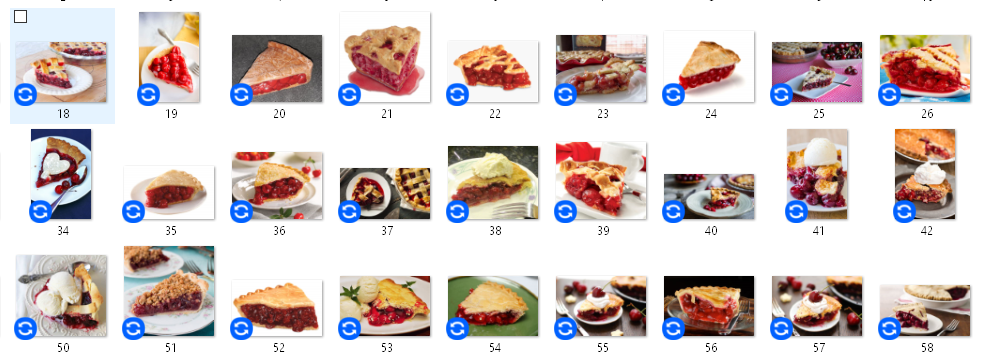
The first thing that I had to do in order to build a machine learning model that can use to successfully classify the types of pie slices was to create a training dataset. In our prior experience using Amazon Rekognition Custom Labels, “What’s In My Fridge”, we learned that the image classification and object detection models under the hood in this microservice can be “fine-tuned”.
What that means is that Amazon has already done the really expensive and time-consuming model-building work for us. This allows us to classify objects that are otherwise very similar to one another and historically have been very challenging for a model to distinguish without excessive amounts of data collation and training time. This technological advancement means we can train a model using several hundred photos as opposed to tens of thousands of photos. Plus, this fine-tuned model training lasts only hours instead of days or weeks.
Individual photos of slices of pie, as you can imagine, are easy to find online, but there is no labeled dataset ready-to-go for fast model training. Thus, I took several hours of dragging and dropping photos of individual slices of pie and saving them to my local machine. If I was to translate this to your business, I might ask for as many old photos, or new photos, as possible for your specific objects that will need later classification, preferably each saved in a single folder with the part number or unique object name as the folder name.

To take care of the labeling of my images, I built my own convolutional neural network in Tensorflow. This created a dataset from my saved files that Tensorflow labeled using the names of the folders where I saved the photos. After successfully getting a Tensorflow model working with my tiny dataset, I moved the files to the cloud.
Amazon S3 allows us to store terabytes of data in a single s3 uri location, making the creation of a photo image dataset pretty easy. All I had to do was to utilize the AWS command line interface, or CLI, and then move the images from my local machine up to the S3 bucket. From there, utilizing either Amazon Sagemaker or Amazon Rekognition is a breeze.
The Models
As mentioned above, we had experience last year using Amazon Rekognition Custom Labels to identify the various products that were in our office fridge. We could distinguish various flavors of sodas by fine-tuning the convolutional neural network models that were pre-trained under the hood. This is known as transfer learning, where you utilize a model that was already trained on data before, and then add your own smaller dataset to it while re-tuning the model’s hyperparameters to suit your needs.
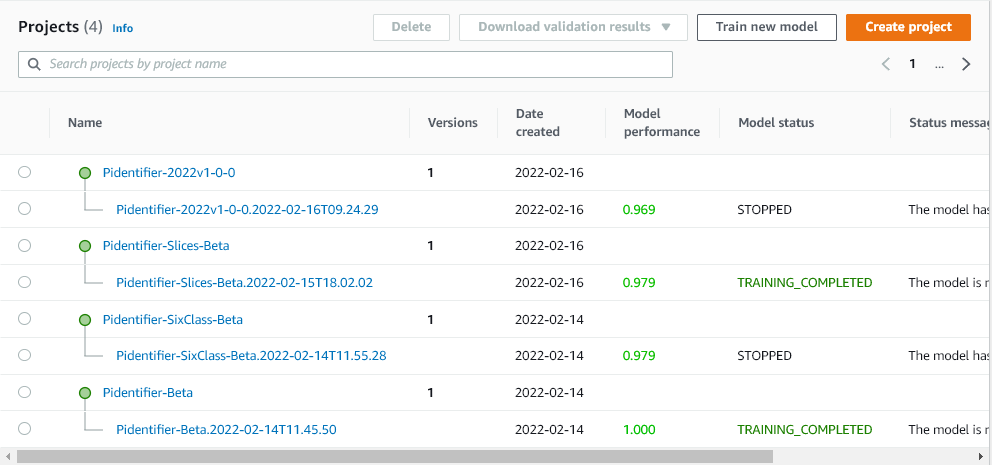
The great thing about Amazon Rekognition Custom Labels is that the microservice does a lot of this work for you. Amazon provides a graphical user interface where we entered the name of our s3 bucket and the folders where our data live, and then with a few clicks, the model fine-tuning begins. It takes a few hours to train the model as we entered in about 1500 photos for training.

Once trained, Amazon Rekognition Custom Labels provides a printout of the model’s evaluation metrics, revealing the Accuracy, Precision, Recall, and F1 scores for each class. In this case, there were 14 classes, or 14 different kinds of pie slices, that the model was trained to classify. Our model correctly identifies each pie with 97% accuracy and 97% F1 score (F1 is the harmonic mean of precision and recall–or in other words, the model’s really really good).
The API
In order for us to put this model into production, it was necessary to create a RESTful API which could serve our model. For this, we also didn’t have too much heavy lifting. Amazon takes care of the inference API for you by providing an ephemeral endpoint server and some code to access the RESTful API for you. From there, I just had to program the API Gateway.
Since we don’t want to expose our AWS account to the world and risk hacking or cyber attacks, we utilized the Amazon API Gateway. API Gateway allows us to write our own RESTful API where anyone on the web can send a request, and then the API gateway activates Lambda functions to either hit the Rekognition API, save data to S3, or return a response to the front-end application without opening the door to our own account.

Programming the API Gateway does take a bit of care and practice. Unlike Rekognition Custom Labels, the API Gateway requires many layers of steps to make sure that the Python and json are written correctly, the api schema is programmed correctly to accept requests and return the correct error messages, and to finally utilize the correct lambda functions depending on the information that is sent to the API from the client side.
The result is that we now have three separate Lambda functions that respond in their own way to different formats of requests sent to them, which will be described further below..
The GUI Application
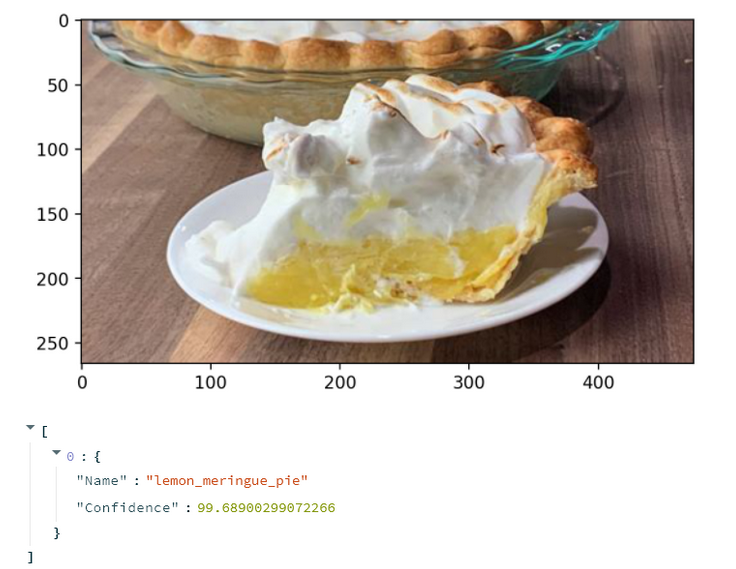
Finally, in order for a human user to interface with our model, we created a GUI, or graphical user interface (often just called an “app”) using a simple HTML5 application. As the Machine Learning Engineer, I wanted to test out the API with a working prototype before my dev team had put together a front-end app. I built one using the Streamlit library in python.
Streamlit employs some pretty easy pre-made HTML and javascript to produce a front-end application that I can write entirely in python. As a Machine Learning Engineer, this allows me to iterate quickly, to develop my application on my own machine without the need for extra overhead, and it lets me produce the application backend without using the design or development team, saving time and money all around.
The user-app is slightly different from my prototype app. In the live production application, the user triggers the workflow by taking a photograph of a slice of pie with their mobile device or smartphone.
You can check out the app at https://www.pidentifier.com
In the prototype app, I add the filename of an out-of-sample photo image to the app to start the workflow. What happens next is simple:
- The user takes a photo of the slice of pie
- A unique filename is assigned to the photograph
- The photograph is saved to s3
- The API gateway receives the photograph and inferences it against the Rekognition Custom Labels API
- A response is sent to the application with the image classification
- That response is also saved to the data store to classify the image
- The user is asked to verify if the pidentification was correct
- If the user fails to respond, a negative, or “false” response is sent to the data store and the original prediction stays in the data store
- Else if the user responds and verifies, their answer is logged and sent to the data store
- If the user indicates that our prediction was wrong
- then they are asked to tell us what the name of the pie should have been
- Their answer is sent to the data store
The user is then given the chance to take a new photo of another slice of pie
Conclusion
In this post I’ve walked you through my process to
- Create and label a sample dataset
- Train and save a deployable Machine Learning Model using Amazon Rekognition Custom Labels
- Build and deploy a RESTful API with Amazon API Gateway and AWS Lambda
- Build and deploy a prototype Front-end application to showcase this to our customers
Whether you’re a little nerdish, or a full-silicon-jacket nerd like me, I hope that you’ve enjoyed this read and that you’ll consider the expertise that Cloud Brigade can lend to help your business move into a place of modernization through the embrace of AI.
